Best Burning Practices
Candles can create a wonderful ambiance in almost any space, but to do that, it's imperative that you follow best burning practices.
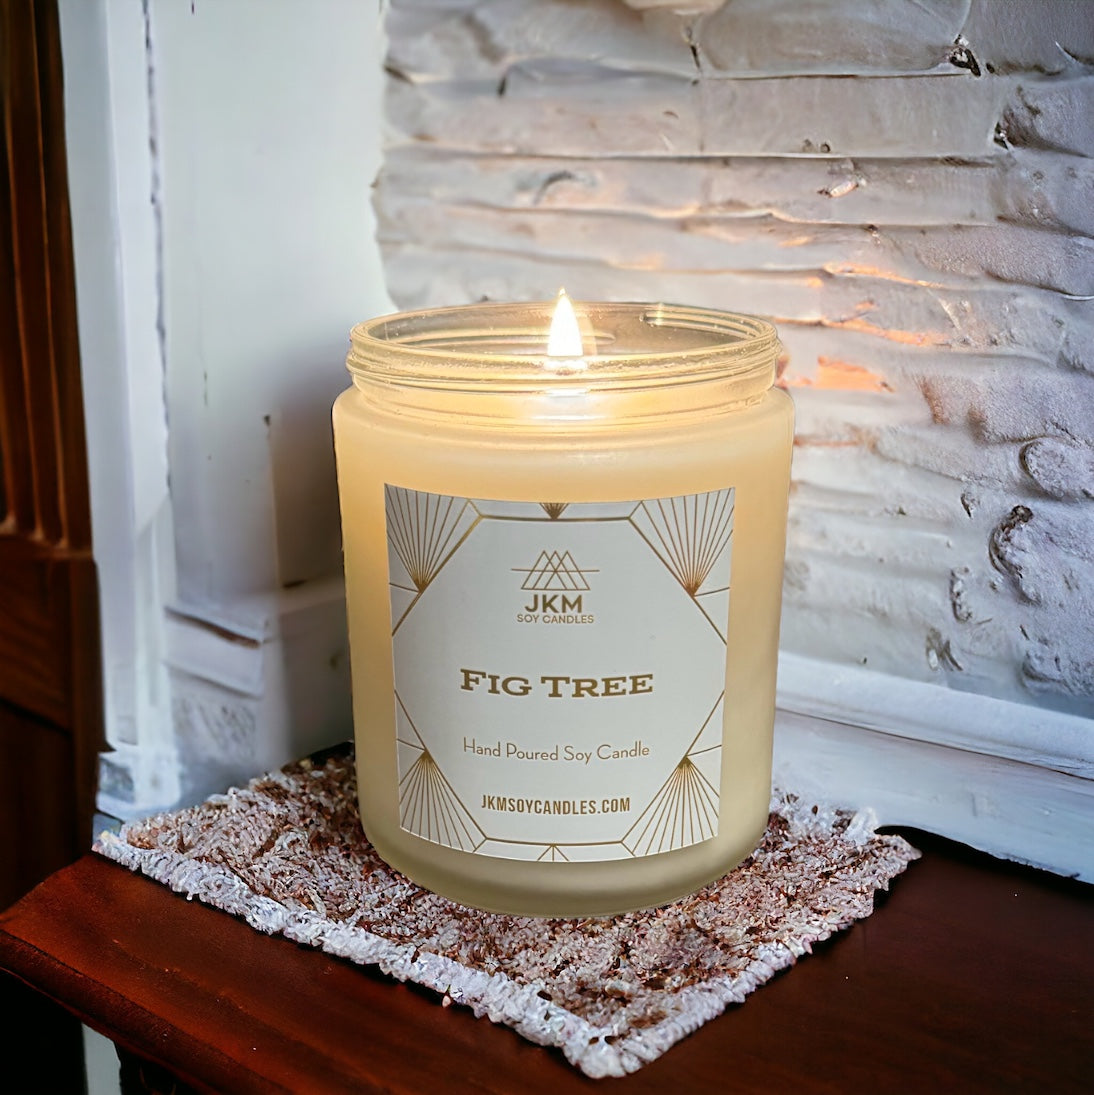
First and foremost, candle warnings labels exist for a reason, so be sure to read them and heed the warnings. Not only will it help ensure that your candle burns how it was intended, but it can also ensure you don't have an accident waiting to happen on your hands. Warning labels can vary from candle to candle, but our general warning label has the following information:
WARNING
To prevent fire & serious injury:
Burn candle within sight on heat resistant surface, away from combustibles, children, & pets.
Trim wick to 1/4" before each relighting. Keep wax pool free of debris.
Keep away from drafts. Do not burn candle for more than 4 hours at a time.
Do not allow flame to touch glass. Stop burning when 1/2" of solid wax remains.
To avoid breakage. Do not extinguish with water.
While some aspects may seem like common sense, it's essential information that may not be universally known. Understanding the reasons behind these precautions ensures not only the best possible burn but also a safer experience.
-
Wick Maintenance: Always trim your wick to 1/4" before each burn. A longer wick can lead to excessive smoke, soot, and potentially hazardous heat that may cause your jar to break or even explode. Trim your wick with precision using a wick trimmer or nail clippers.
-
Clean Wax Pool: Maintain a debris-free wax pool to prevent unwanted items like dust or wick trimmings from catching fire, which could lead to uncontrolled flames.
-
Avoid Drafts: Keep your candle away from open windows, doors, fans, air conditioners, and vents. Drafts can cause uneven burning, smoke, and wax irregularities.
-
Optimal Burning Practices: To maximize your candle's lifespan:
- Burn until the melted wax reaches all edges (averting tunneling).
- Limit each burn to four hours (as long as the melted wax has reached all the edges).
-
Re-Centering the Wick: After extinguishing your candle, re-center the wick to prevent it from getting too close to any side of the jar to prevent it from becoming excessively hot and potentially breaking or exploding.
-
Cease Burning at 1/2" Wax Level: To prevent overheating, stop burning your candle when 1/2" of solid wax remains at the bottom of the jar.
-
Safe Extinguishing Methods: Opt for safe extinguishing methods such as dipping the wick in melted wax using a wick dipper or snuffing the flame with a candle snuffer or metal lid. Avoid blowing out the candle to prevent hot wax spray and smoke, and never use water to extinguish it.
-
Never Leave Unattended: Ensure a safe and enjoyable candle burning experience by refraining from leaving a burning candle unattended, especially when asleep. Always keep candles out of reach of children and pets.
Special Tips for Burning Woodwick Candles
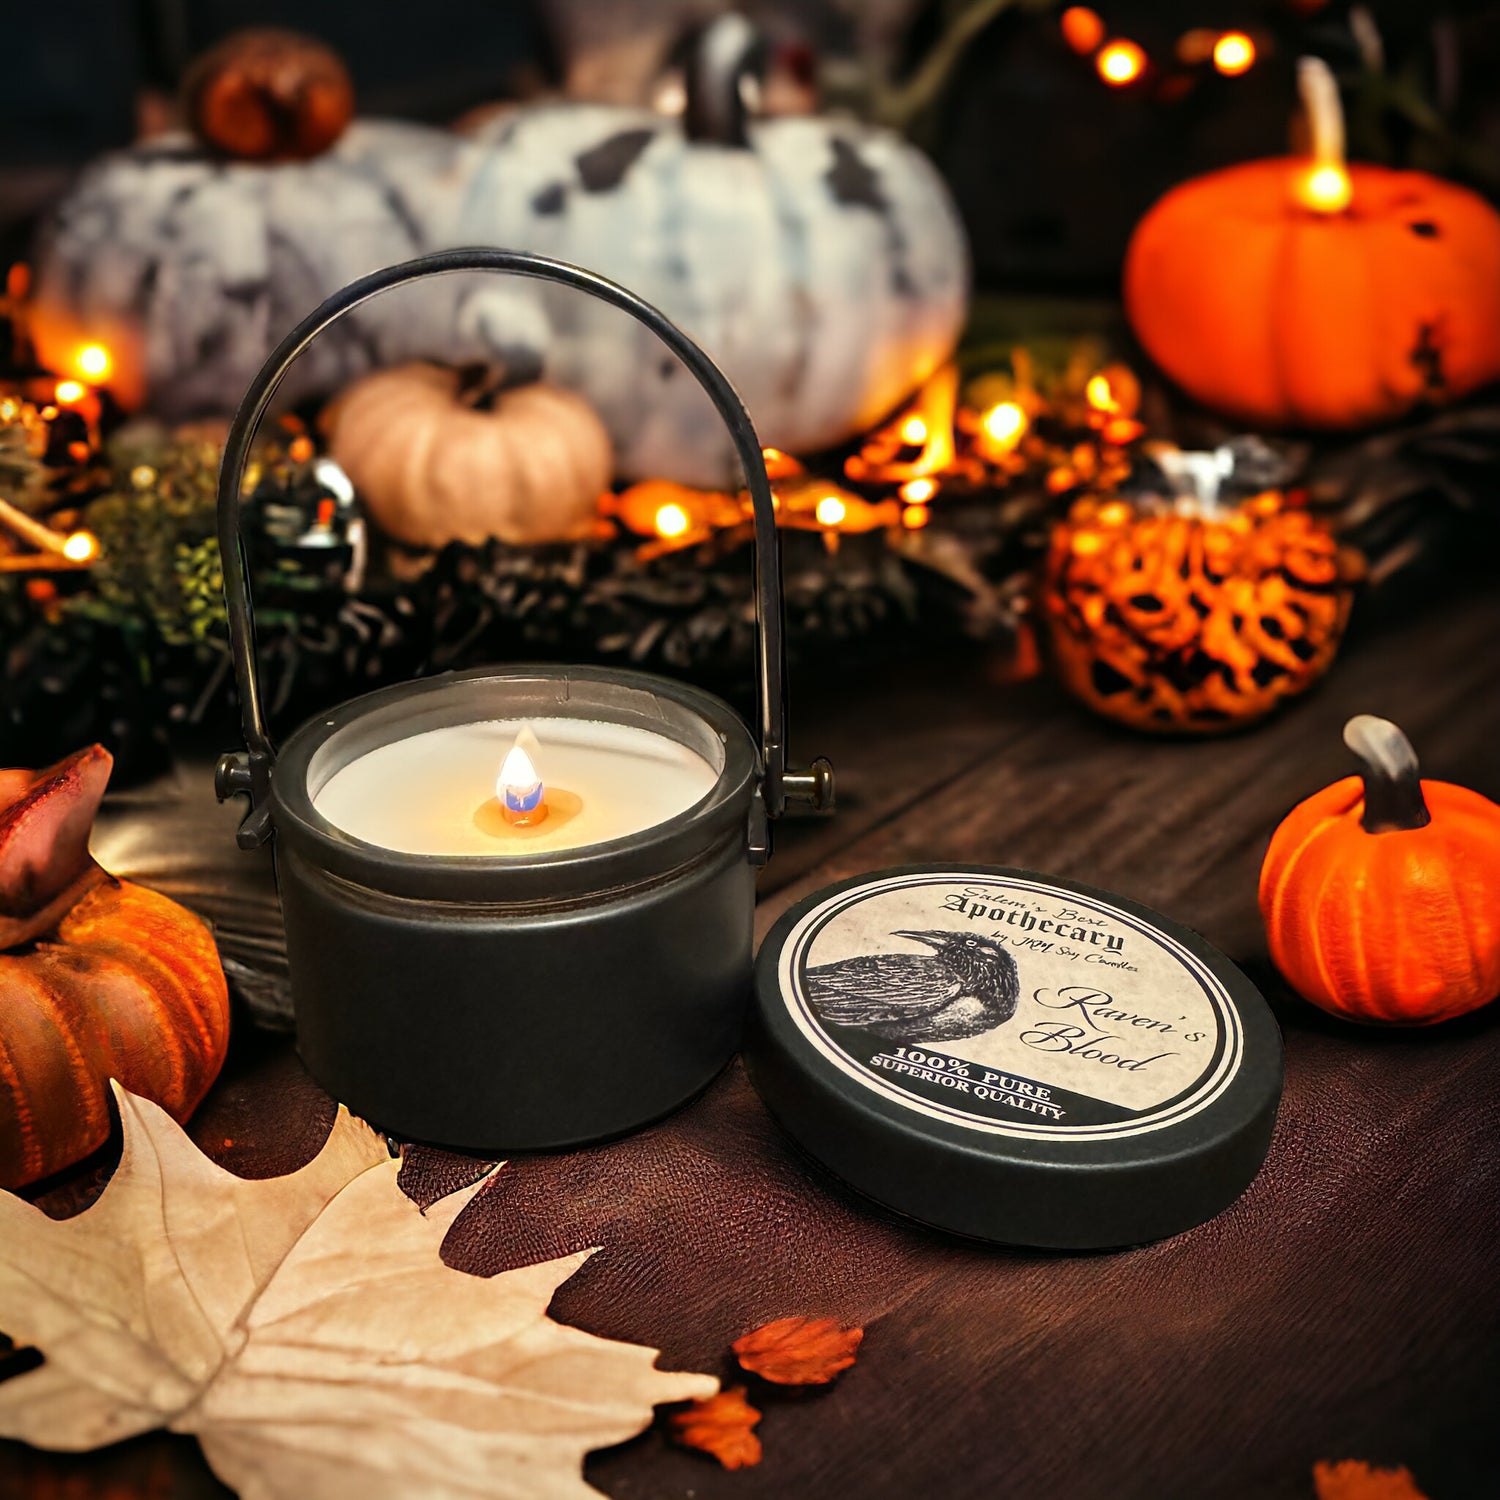
• Woodwicks may require a bit more patience to ignite and remain lit. Enhance the process by holding the flame from your match or candle lighter on the wick for a little longer, allowing a small pool of wax to form around it.
• Grant your candle sufficient time to create a full melt pool before extinguishing, which might take a few hours, depending on the jar's size.
• Maintain your woodwick by keeping it short and free of charred bits and debris. For an optimal burn, trim woodwicks to a length of 1/8" - 1/4". If your woodwick struggles to stay lit, check for excessive length or charred wood that needs trimming.
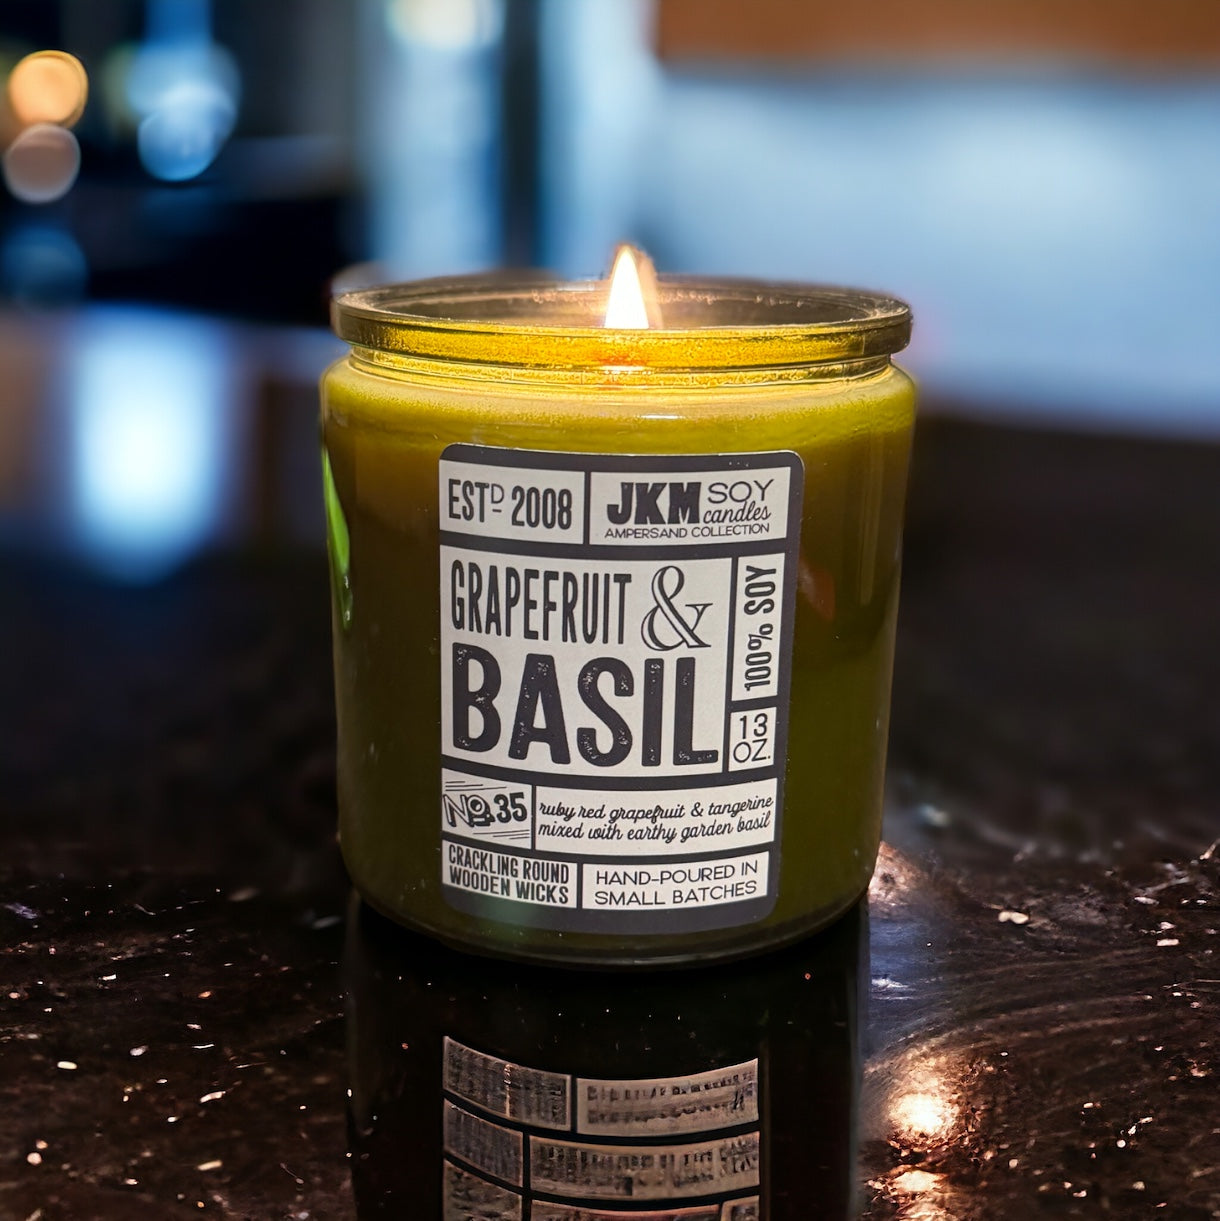
• Combat candle tunneling by ensuring that a full melt pool develops. If your candle stays lit, extend the burn time until the melted wax reaches the jar's edges. For drowning wicks, remove excess melted wax with a paper towel or pour it onto a paper plate, then relight the candle. Repeat until the wick has ample space to breathe.
• Embrace variations in your woodwick's flame size. Even a modest flame can provide an enjoyable scent throw and ambiance. Trim excessively tall flames to maintain the ideal height for a captivating experience.
• After burning, confirm your wick is centered. If not, gently reposition it while the wax is still soft, ensuring safe burning for next time.
Other Tips & Troubleshooting
-
• To enhance the scent experience, consider burning your candle in a smaller room or placing it closer to you. Some fragrances may reveal their subtlety more effectively in cozier spaces.
-
• If you observe beads of "sweat" forming on your candle's surface, excess oil may be seeping through the wax. If your candle wax is hard, try using a paper towel to gently dab away the "sweat" from the top of the candle. Rest assured, this candle "sweat" does not impact the candle's burn.
-
• "Frosting" on the sides or "bumpy" tops of your candle is a natural aspect of soy wax candles, adding character without affecting the burn. Embrace these distinctive features as part of the candle's charm.

